Ladies & Gents I very excited to present my FAVE craftivtity creator of all time, TERI!!
Enjoy her post while I'm away!
Hi everyone!
I'm Teri from A Cupcake for the Teacher,
and I'm excited to be here today! :)
I have a fun first day freebie to share with you!
Have you heard of Magic Playdoh??
I first discovered Magic Playdoh before school started last year.
I thought it was the cutest idea, so I made a batch for my little ones.
Let me tell you. They. LOVED. It.
I will definitely be doing it again this year with my firsties!!
If you haven't heard of it, the idea behind Magic Playdoh is that it starts off white, and if it *just so happens to change color* when you squeeze it, then you're going to have a great year! Genius, right?!
Toward the end of the first day of school, I hand out Ziploc baggies of Magic Playdoh.
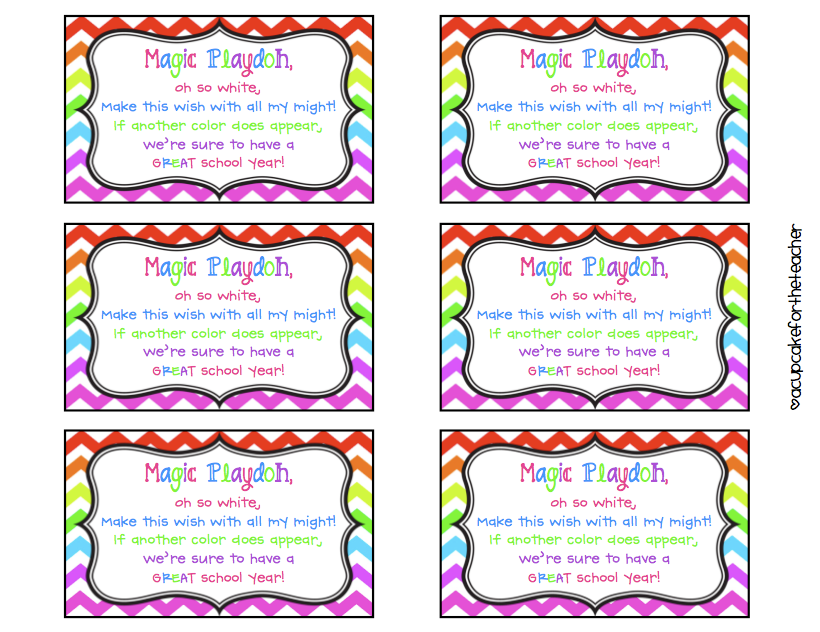
I display a little poster and read a poem with my class:
{I didn't write the poem-- I found it at Fun in First Grade-- but no one knows where it originated!!}
Then I have my kiddos squish up the playdoh... INSIDE the Ziplocs first, to prevent the food coloring from staining their little fingers! It's so fun to listen to them as they realize that their playdoh is changing colors!! Once it's all smooshed up, the playdoh can be taken out and played with, without fear of blue or red hands.
I made these cute matching labels to put on the playdoh baggies:
{Download them for free HERE}
To make Magic Playdoh, you'll need:
*1 cup flour
*1 cup water
*1/4 cup salt
*2 tsp. cream of tartar
*1 Tbls. vegetable oil
*food coloring
Then, just follow these steps:
1. Put all of your ingredients {EXCEPT the food coloring} into a pot and turn the stove on medium heat.
2. Stir, stir, stir! It's going to take a few minutes to form.
3. Once your mixture forms a ball, remove from heat {I put it on a paper plate}.
4. Give it a second to cool, then separate the playdoh and form balls.
5. Poke a hole in each ball and put 3-4 drops of food coloring in them. Carefully close the ball without squeezing it, so the food coloring stays in the middle.
When you're all done, put one "doh" ball in each baggie and seal the bag.
You're all ready to take it to school! Your class will love it!!
*Note: I cut the recipe in half for this tutorial.
The full recipe will make about 8 decent size pieces!*
I hope that you enjoyed this little tutorial and that you can use it in your classroom! For more fun ideas, freebies, and more, stop by my blog!
Thank you Susan, for asking me to guest post today!! :)
Labels: back to school, DIY, freebie, hands on